-3.png?width=150&height=101&name=Kiwi-voip-2%20(1)-3.png)
📥 Download the Template
Click below to download the latest approved 3CX SIP Trunk Template for Kiwi VoIP:
If you need a custom version (TLS, SRTP, AU VoIP, multi-trunk, or special routing requirements), just reach out to our team and we’ll customise it for you.
📘 What This Template Includes
Our trunk file is preconfigured with:
-
Recommended 3CX SIP profile
-
Preferred codecs (PCMA, PCMU, G729, G722)
-
Registration intervals
-
Correct SIP header behaviour for NZ carriers
-
UDP transport restrictions
-
IPv4 only restrictions
-
Caller ID rules & identity handling
-
Ready-to-use parameter mappings (FromUserPart, ToUserPart, P-Asserted-Identity, etc.)
This ensures maximum compatibility and a smooth experience during provisioning.
🛠 How to Import the Template into 3CX
Follow these steps to add the trunk template into your PBX:
Step 1 — Log into the 3CX Management Console
Open your 3CX admin URL (usually https://xxx.3cx.nz:5001) and sign in.
Step 2 — Go to SIP Trunks
Menu: Advanced → Templates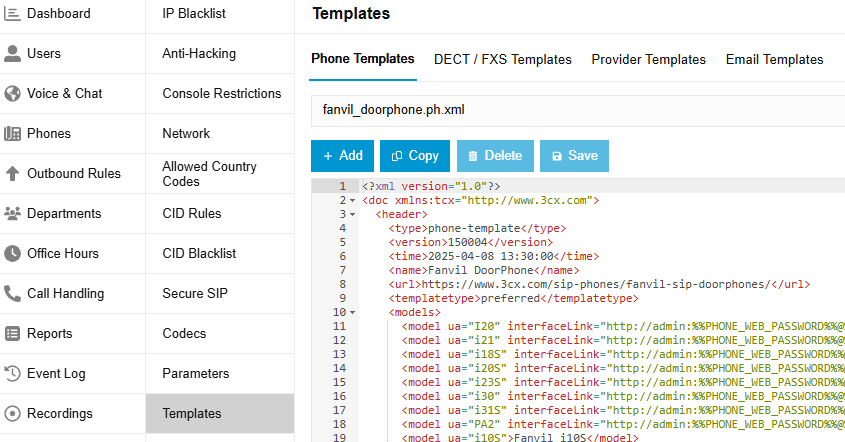
Step 3 — Upload Provider File
At the top click Provider Templates selection window, choose:
“Import Provider”
Then upload the XML file you downloaded.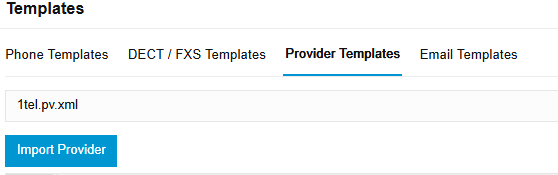
Step 4 — Enter Your Trunk Credentials
Add the details provided by Kiwi VoIP:
-
Name
-
Authentication ID
-
Authentication Password
-
Main trunk number
-
DIDs (if applicable)
Step 6 — Save & Apply
Click OK, then Apply at the top right of the 3CX console.
📞 Testing Your Trunk
Once imported:
-
Go to Dashboard → Voice & Chat
-
Confirm the trunk appears as Registered
-
Place a test inbound call to confirm routing
-
Place a test outbound call to verify caller ID
-
Review SIP logs (optional) if testing advanced features
💡 Need Help?
If you have trouble importing the template, trunk registration issues, or need help with inbound routing, queues, or caller ID presentation, our support team is here to help.